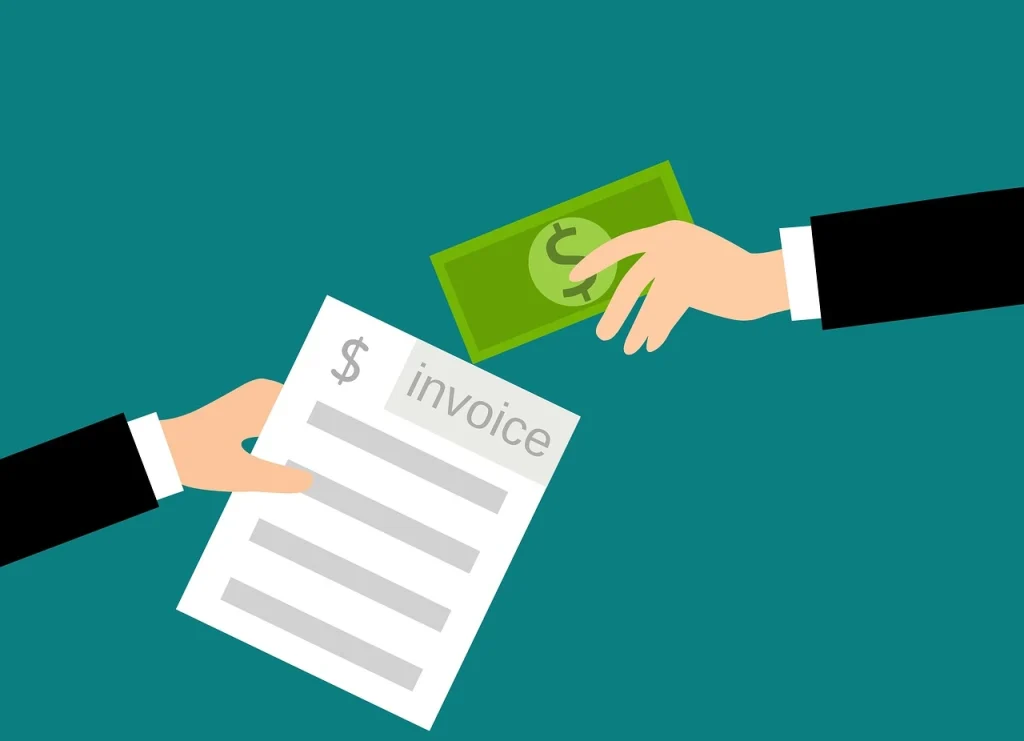
Designing invoices in Figma gives you control over the visual identity, layout, and reusability of your invoices. But design must serve function: clarity, compliance, and ease of billing. In this guide, you’ll learn how to craft a clean, effective invoice in Figma, while using ProInvoice to manage delivery, tax compliance, and client billing.
Why Design an Invoice in Figma?
- Complete design flexibility: align brand style, layout, typography, spacing.
- Reusable component templates: make one design and reuse it across clients.
- Control over visual hierarchy: emphasize invoice number, due date, totals.
That said, once design is done, you still need to send and manage the invoice. That’s where ProInvoice comes into play—linking your design with real invoicing power.
Key Elements Every Invoice Must Contain
Before shaping the layout, make sure you account for these essential items:
- The invoice header (with the word “Invoice” prominently).
- Your business name, logo, contact details, and tax / VAT registration if applicable.
- Client’s name, address, contact info.
- Invoice date and a unique invoice number.
- Due date (payment deadline).
- Itemized list of goods/services: description, quantity/hour rate, unit price.
- Tax (VAT) line if applicable, showing rate, amount.
- Subtotal, tax, and total amount due.
- Payment instructions (bank details, EFT, etc.).
- Notes, terms & conditions, or disclaimers.
In Figma, lay these out clearly, but don’t sacrifice legibility for style.
Stay organized as you grow. Use ProInvoice to manage billing and client relationships with ease.
Step-by-Step: Building the Invoice in Figma
1. Create the Artboard & Grid Layout
- Start with a standard page size (A4, letter, or custom).
- Use a grid or layout guides (columns & margins) to enforce structure.
- Reserve header, body, footer zones.
2. Build the Invoice Header
- Place your logo and business name.
- Add “Invoice” as a prominent title.
- Include your contact info and tax / VAT number.
3. Client & Invoice Info Section
- On one side, include client’s details (name, address).
- On the other: invoice number, issue date, due date.
4. Itemized Table for Services / Products
- Use a table structure with columns: Description, Qty/Hours, Unit Price, Tax Rate (if any), Line Total.
- Ensure you have enough space, consistent alignment, and legibility.
5. Summary & Totals
- Below the table, include subtotal, tax (VAT), and total due.
- Make total amount bold or emphasized visually.
6. Payment Instructions & Terms
- Clearly specify how the client should pay (bank account, EFT, etc.).
- Include due terms, late fee policies, or notes.
7. Footnotes or Additional Notes
- Optionally, include disclaimers, thanks note, or legal terms.
8. Convert to Reusable Component
Once your design is final, convert the invoice frame into a Figma component. This lets you swap out client data or services while preserving styling and layout.
Stay organized as you grow. Use ProInvoice to manage billing and client relationships with ease.
Tips for Better Figma Invoice Design
- Stick to 2–3 typefaces max for clarity.
- Use color sparingly (for emphasis), but ensure high contrast for readability.
- Align numeric columns to the right for better readability.
- Leave enough white space—don’t cram too much info.
- Use consistent spacing and margins.
- Test print or PDF export to make sure it looks good off-screen.
How to Link Design to Real Invoicing with ProInvoice
- After designing the invoice template in Figma, export it (e.g. as a PDF or image) or recreate your final layout in ProInvoice.
- Use ProInvoice to populate dynamic data (client name, amounts, tax lines) while preserving your branding.
- Send the invoice directly from ProInvoice—it handles delivery, tracking, reminders, and records.
- When tax or compliance changes, update in ProInvoice’s template settings rather than redesigning every invoice.
By combining aesthetic design in Figma and functional billing in ProInvoice, you get beauty and reliability in one process.
Final Thoughts
Designing a Figma invoice allows you to fully express your brand voice and layout preferences. But design without functionality is incomplete. Use Figma as your canvas, and ProInvoice as your engine for sending, tracking, and managing real invoices.
If you’re ready to move from design drafts to real invoices with ease, sign up with ProInvoice today and start sending invoices that look great and work well.