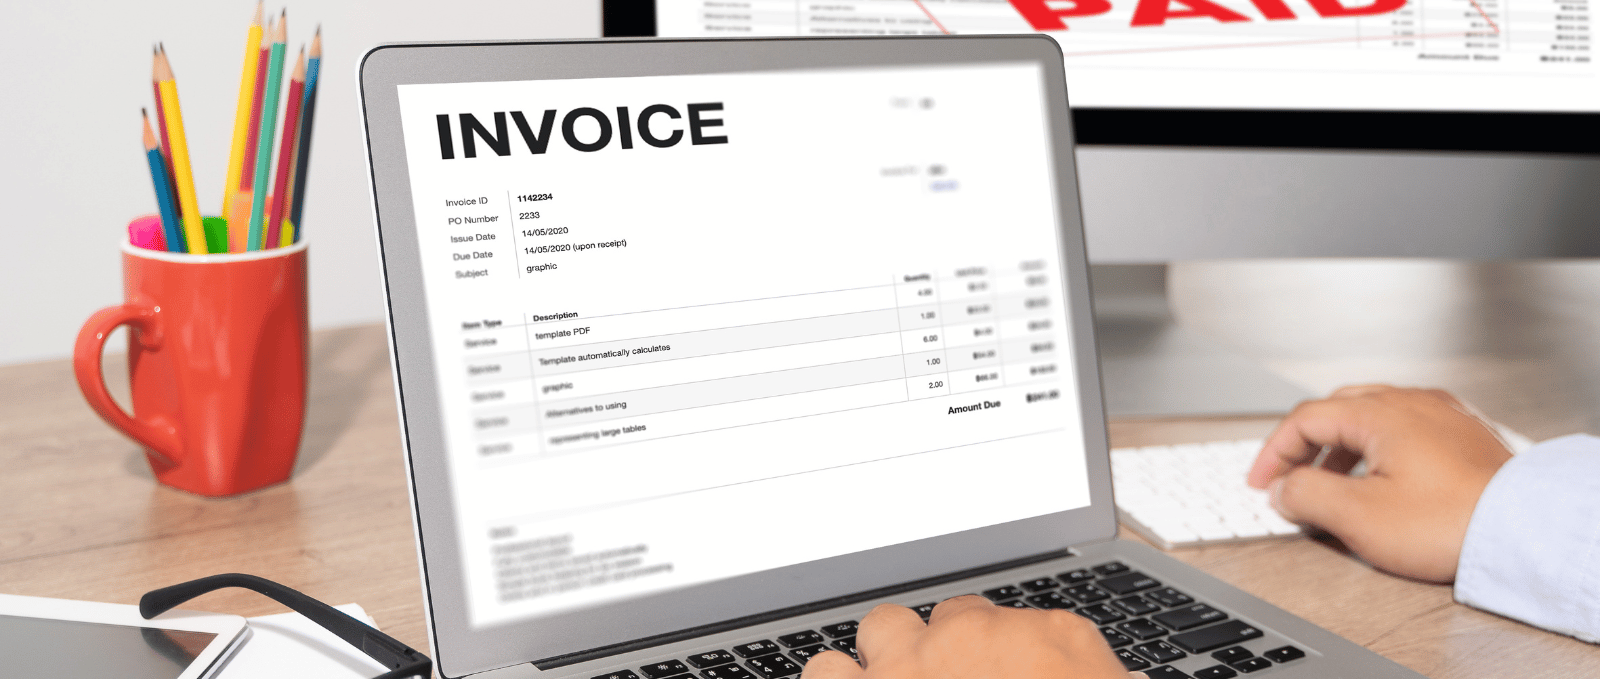
Gone are the days when you had to deal with manual invoices, with technology anyone can now digitally create an invoice.
An invoice is a record that lists the things that were purchased together with other crucial details like the shipment weight and the delivery cost.
It is a legally binding contract between a company and its customers, attesting to the services provided and the money owed—also, invoices aid businesses in managing their money and tracking sales.
The capacity to preserve a legal record of the transaction, which enables you to determine when a good was sold, is the most significant advantage of an invoice.
Invoices are crucial for small businesses because they benefit both the firm sending the invoice and the client receiving it.
Here’s how to create an invoice easily.
Choose an Invoice Software or Template
For each business, selecting the appropriate invoicing program or template is essential. Compared to complex spreadsheets and templates, invoicing software is simple to use and access.
The best invoice software should have customization options to quickly add your company’s brand colors, logo, and signature.
It should also be simple to use and intuitive. There are several considerations to bear in mind while selecting invoicing software, including:
- Formatting.
- Templates.
- Access control.
- Data security.
- Pricing.
- Multiple currency options.
Most platforms or programs for creating invoices have pre-selected invoice templates. Hence it makes sense to use just one platform for your billing requirements.
Pay attention to characteristics like the range of approved payment methods. The ideal invoice template complements your company’s identity.
An attorney’s invoice, a finance charge invoice, or a fixed-fee invoice are examples of different invoice kinds.
Choose an invoice template that enables multilingual labels and currencies if you have foreign clients or customers who speak other languages.
Add your Business Information and Logo
A logo is a crucial component of establishing your company’s identity and demonstrating professionalism on your invoice template.
Also, it might assist customers in recognizing who issued the invoice and set it apart from rivals.
You can utilize Xero Central, or the Layout Designer integrated into QuickBooks to add a logo to your invoice template.
While Xero Central will let you upload the logo directly, the Layout Designer will let you adjust the logo’s size and placement.
Include Clients Information and Invoice Number
Businesses must include client information and invoice numbers to track transactions and present a professional image.
Each invoice generated has a specific invoice number allocated to it that serves as a means of identification and organization.
It may include the date it was issued, the client’s name, or their initials. It may also contain only numbers or letters and numbers.
Using sequential numbering is one method of assigning an invoice number.
By keeping track of how many clients you have already invoiced and how many are left, this strategy ensures you never forget to send an invoice to a client.
List Products or Services Provided with Prices
You can use the procedures below to list goods or services that are provided with prices to an invoice:
- Create an invoice template for services.
- Provide the name of your company and contact details.
- Include the name and contact information of your client.
- Give each invoice a specific number and date.
- Summarize the goods or services offered along with their
- Determine the total amount owing, considering any taxes or discounts.
Calculate Subtotal, Taxes, and Total Amount Due
To compute the subtotal, taxes, and the total amount payable in an invoice, you need to follow these steps:
- To determine the item subtotal, multiply the price of each item by the number of that item.
- To obtain the overall subtotal, add each item’s
- To calculate the tax, multiply the subtotal by the applicable tax
- Increase the subtotal of the amount owed by the tax amount.
Remember that you must include any discounts or other costs (such as shipping or handling) in your calculations if there are any.
Set Payments Terms and Due Date
Setting payment terms and due dates in invoices is essential for businesses to manage their cash flow and receive timely payments.
The main reason to state a set due date on an invoice is to encourage customers to pay within a certain period.
When setting a due date, it is essential to avoid ambiguity regarding payment. It is common to see terms such as ‘first working day,’ ‘end of the month,’ etc., but these terms are vague and open to interpretation.
To clarify, state: ‘30 days from the date of invoice issue’. Businesses can set up transparent payment terms, so customers know what to expect.
The more straightforward these are, the easier it will be for customers to pay on time. Payment terms should be included in any contract with a customer and visible on every invoice.
Payment terms should outline when the business expects payment, whether upon receipt of the invoice or within a week or month, etc.
Customize Invoice Design if Desired
Professional invoice templates that are free to download, print, and edit in Word, PDF, and Excel may be used to modify invoice designs.
These templates let businesses contribute information unique to their organization, including images, addresses, etc.
Also, the default invoice template can be altered to suit content unique to your business, including photographs, classes, and other details.
For instance, logos can be included in invoices sent to a specific account, and the company and the client can both have billing addresses. To alter the invoice, developers can change the theme’s invoice.html file.
Preview and Send the Invoice to the Client
There are various ways to preview and send an invoice to a client. To see how the invoice will appear on a web browser or mobile app, you can preview it in Xero or create a PDF copy.
After creating an invoice in Dubsado, select “Send >> Open in New Window” to view it before sending. The invoice will seem precisely as it will to the client.
After finishing your invoice in Fiskl, you can quickly preview and send it. Once you’ve hit “Save,” you’ll be sent to a preview screen where you can see how your client will see your invoice.
If you want to return to make changes, tap the edit icon at the top right of your screen to return to the invoice screen.
To exit and return to your invoice list, tap on the cross at the top left, and your invoice will appear at the top of the list with an Open status.
Conclusion
When setting up invoices, you will need to remember to factor in fees and make sure that there are no hidden costs.
Additionally, you should carefully consider what payments are available and what payments you will collect.
The more clear and transparent you make payment terms, the more likely clients will pay on time and avoid delays.


