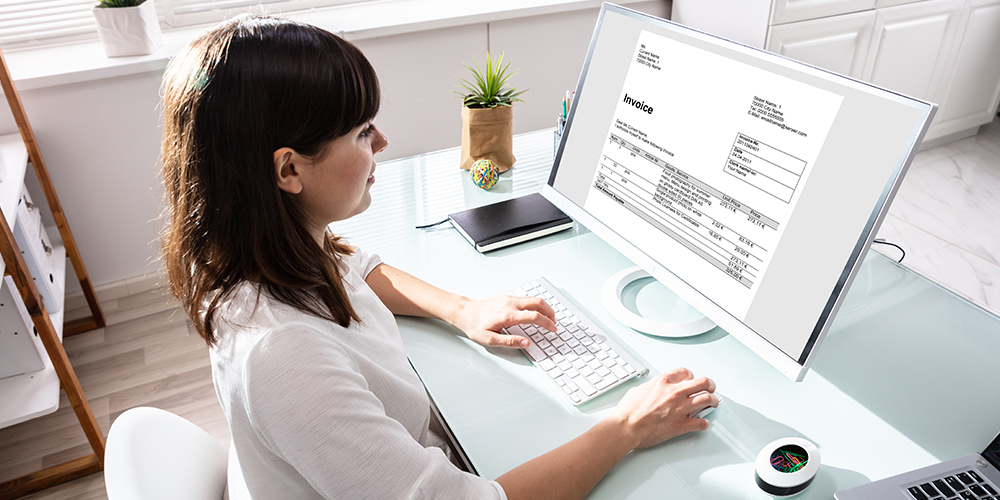
Invoice automation is a major game changer any serious invoicing software should have and in this article we shall be deep diving into how you can do that with ease using not just any application or invoice generator but the very efficient ProInvoice invoice generator.
How do you feel when you have to tell someone a particular story or what to do over and over again? Tiring right, me too.
This was exactly how I felt weeks ago when I had to keep preparing the same invoice with little or no difference for a particular customer of mine.
We all know running a business can be strenuous especially when you are both the CEO, Customer care agent, accountant and every other thing that comes with the business.
This is where invoice automation with ProInvoice comes to the rescue. ProInvoice has made this easy by including automation of invoices as one of the features on the platform.
All you have to do is sign up and log into the platform, create your invoice and set it as reoccurring and you’re good to go.
Automation done and ready to deliver to your customer. If you are looking to learn more on automating invoices and creating your first invoice on ProInvoice, then kindly read through this and be sure to get all the answers you need.
- How to create my first invoice
- How to set dates for automation on my invoice
- How to stop automation on my invoice
- How to send invoice to my customer
- How to add contacts
How to create my first invoice
The first step in creating your invoice is to sign up if you do not have an account on ProInvoice.
After successful registration, you can log into the platform. After successful login, simply click on the new invoice box displayed on the homepage and voila!
You are on your way to creating your first invoice. You could also choose to scroll through the icons and click on invoices to create your invoice.
Invoice automation – How to set dates for automation on my invoice
One of the reasons for automation is to help send your invoice to your contact, recipient or customer at a later date.
Hence, setting dates for automation is of much importance. Before setting the date for automation, you must have created your invoice.
After you have successfully created your first invoice, the option to automate or set it as reoccurring becomes available.
Simply click on the ‘More action’ where a drop down of actions will be made available such as, ‘preview invoice, mark as not paid, download PDF, select recurring duplicate invoice, invoice settings, invoice activity, delete invoice’ Simply select recurring option and proceed to fill in the needed information.
You could also choose to scroll down to the right and click on the ‘set recurring’ option.
Furthermore, the following steps should be taken to set the date for automation on the invoice;
- Select the frequency; daily, weekly or monthly
- Proceed to select the start date and the end date
- Finally, add the invoice count
Invoice automation – How to stop automation on my invoice
The next question that comes to mind is how to stop the automation, if the service is no longer needed. You might be wondering if this option is available or if it is a dead end.
Yes, this is very much available. You can do this with ease on the ProInvoice platform.
Automated invoices on the ProInvoice platform are structured to stop at the end date but in a situation where you want to stop the automation before the due date then you should do the following;
- Simply log into your platform
- Click on invoices
- Click on recurring invoice
- Search for the invoice you want to stop the automation
- Click on the invoice
- Click on the edit recurring icon by the right
- Click on cancel recurring
In addition, if you do not want to cancel or stop the automation immediately you can simply edit or change the end date.
How to send invoice to my customer
An interesting thing to note is that you could send invoices directly from the platform to your contacts or customers.
No need for downloading separately or using any external sites to send the invoice to your customer. This is done directly from the platform.
You could either choose to send the invoice or share the invoice to social media platforms such as WhatsApp or Facebook.
Your customers can also receive the invoice to their mailbox. To do this, simply do the following;
- Simply click on invoices
- Select the invoice
- Select send invoice, below this icon you have the send invoice and mark as not paid icon.
How to add contacts
One of the challenges that you might encounter while trying to create an invoice or automate an invoice is adding contacts.
For first time users you will probably keep getting an error message of select contact or no contact added.
Do not be confused, contact here simply means the recipient of your invoice which would most likely be your customers.
This is an important step and without it you can not completely create an invoice or automate an invoice.
Follow the steps below to add contacts or recipient’s information to your ProInvoice platform;
- Log into your ProInvoice platform
- Scroll to Contact
- Click on it
- Click on ‘Add Contact’
- Proceed to add your contact information
Contact information includes the contact name, email address, phone number and company address (this is optional).
You can add as many contacts as you wish on your list. In addition to automating your invoice, there are other functions on the platform that shows and visualizes your invoice usage and many more amazing packages available after upgrading your account.
In all, you can read more on how to use the ProInvoice platform effectively and get answers to other frequently asked questions .
You could also access and download our free invoice templates. Be rest assured that the team is here to serve you and to make you have the best experience on the platform and for your business.