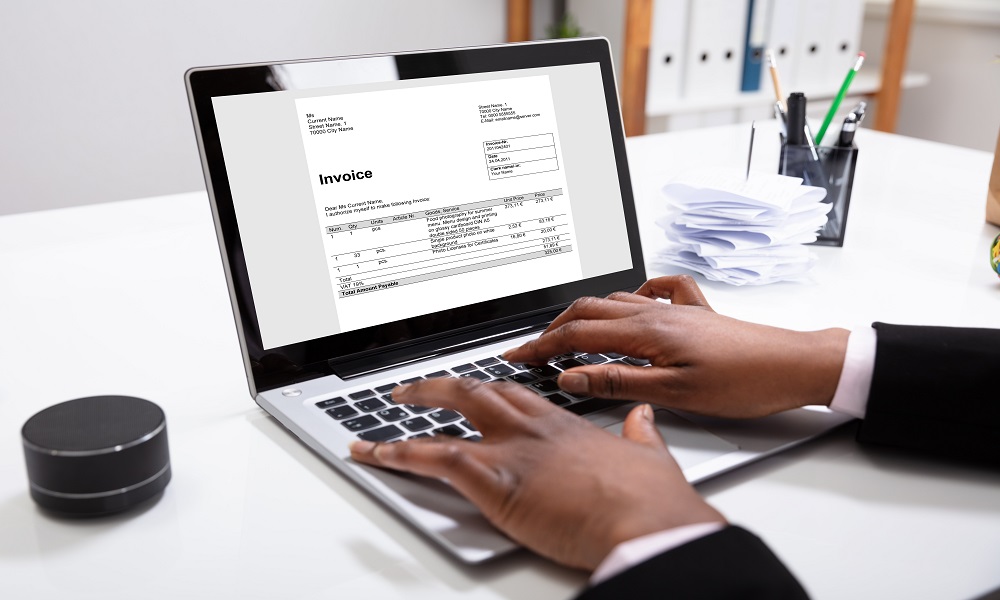
For most businesses, creating a simple invoice template in word is a quick option when placed on the spot and are in a hurry to get their money out.
Invoicing is a necessary evil for businesses of all sizes, but creating invoices from scratch can be a laborious and error-prone process.
With the aid of a blank invoice template, you can quickly and easily create professional-looking invoices.
The short answer to your question is a resounding “yes,” since Microsoft Word can be used to create a custom invoice template.
This piece will go over the benefits of utilizing an invoice template and provide step-by-step directions for creating your own Simple invoice template in Word.
Why Should You Use A Simple Invoice Template In Word for Your Invoices?
Maybe you are questioning why switching to an invoice template instead of sticking with a tried-and-true personalized invoice.
The answer is simple: utilize a template for an invoice to save time and guarantee timely payment.
If you had fast access to invoice templates, endless modification choices, and a simple layout, you could have a particular invoice filled out and ready to send through an invoicing platform or email in just a few minutes.
Since you will be spending less time on the tedious process, your client will be able to experience a steadier and more immediate pace of growth.
This ensures that the consumer will get the bill and have the funds available to pay it on the due date.
Now that we have gone through the various uses for invoice templates let us take a look at how to create one in Microsoft Word.
How to create an invoice in Microsoft Word
1. Launch the Microsoft Word application.
2. Go to the New option under the File menu.
3. When you enter “Invoice” into the search bar, Word will bring up all of the templates that are available for use as invoices.
4. If you are using Office Online, the site will provide you with a selection of pre-made templates to choose from. Just scroll down until you reach the bottom and choose More Templates. After that, on the left side of the screen, pick Category, and then click Invoices.
5. Decide which of the available templates you would want to utilize.
6. To open the template, just double-click on it.
7. If you are using Office Online, you will need to decide whether you want to edit the document online or download it first.
8. Provide specifics about your company on the invoice that you send out.
9. To add text, just click on the location where you wish to add text, start typing, and then erase the fake text that was previously added.
10. If the invoice provides a spot for your logo, you should click the box that encircles the text that reads “Your Logo Here.” After selecting Image from the Insert drop-down menu, you can then search for and pick your company’s logo before clicking the Insert button again. The following file extensions are acceptable: .jpg,.gif, and .bmp.
11. 11 You may use clip art for a logo if you do not have one. Choose Clip Art from the Insert menu and then pick the appropriate picture.
12. 12 Get rid of any unnecessary fields. If your firm does not have a slogan, for instance, you may ignore the Slogan section.
13. If you prefer to fill in the information by hand, skip over the blank boxes in step 13. If you need to print many invoices without the date so that you may add it later, you should clear away the placeholder text in the date field but keep any preceding label text such as date.
14. Remove the placeholder and add an underline to indicate where the customer’s real name should go.
15. If you want to add some lines or forms, you may use the Shapes and Lines tools.
16. When editing an existing line or shape, go to the Format tab and make your adjustments there. You can do things like add dotted or solid lines, apply shading in the backdrop, modify the color of your text, and so on.
17. Check it over and store it.
1. Invoicebus Templates
No matter where you are located in the globe, Invoicebus enables you to send your customers online invoices and get immediate payment using any credit card, debit card, or PayPal.
The platform and program freedom is the key advantage of utilizing Invoicebus templates. It follows that you may use them both with and without Invoicebus.
These templates may be simply modified to match your identity and can be used for a variety of companies, including those that specialize in design, consulting, corporate services, catering, photography, and software development.
2. Digital Invoice Template
Send your clients online invoices using Invoicebus and accept payments by PayPal, a credit card, or a debit card, no matter where you are in the world.
The main benefit of employing Invoicebus templates is the platform and application independence. This means you may use them with or without Invoicebus.
You can easily make these templates your own and use them for any kind of business, from design to consulting to corporate services to catering to photography to software development.
3. FreshBooks: Cloud Accounting
In addition to offering downloads and services related to invoicing template creation, FreshBooks: Cloud Accounting also provides assistance with cloud storage, the management of projects, as well as the tracking of costs and amounts of time spent working on projects. Outstanding for both a big and a small business alike.
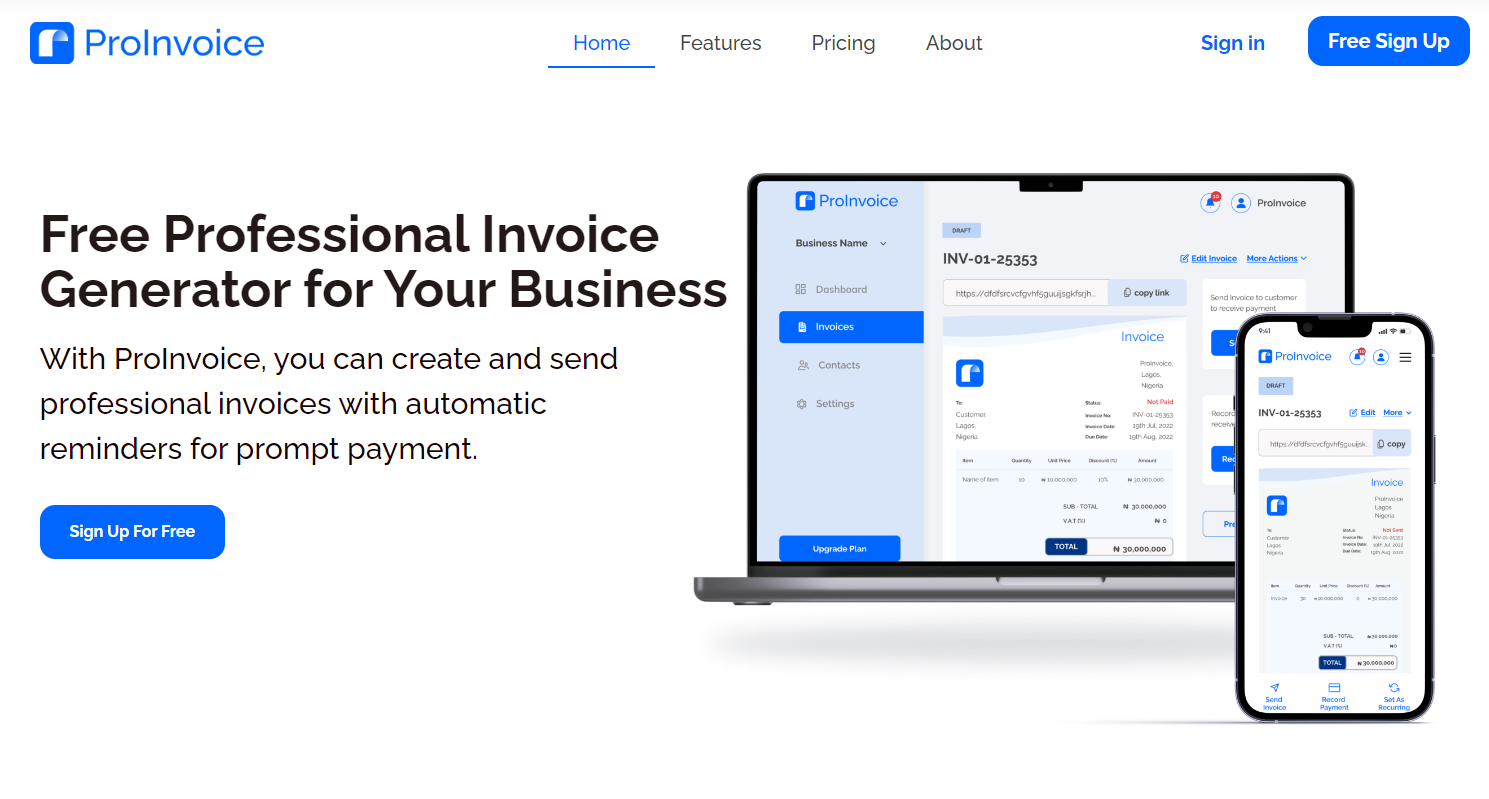
4. ProInvoice
Invoicing has never been simpler than with ProInvoice. The ProInvoice invoicing software includes everything you need to send invoices, keep track of payments, and get paid.
Quickly and easily send professional-looking invoices with built-in payment reminders with ProInvoice.
You may use ProInvoice to monitor customer invoicing activity, from when an invoice is seen to when payment is received.
Customers may quickly and easily pay with just a few clicks using an online payment system.


